

Google Tag Manager (GTM) for Beginners - Part 1
Are you using Google Analytics 4 (GA4) or are you planning to? If so, then using Google Tag Manager is almost a given. Google Tag Manager, abbreviated GTM, is by far the best way to connect your website to Google Analytics 4. In this GTM guide for beginners, we will explain how to create a GTM account, how to connect your website to GTM code on your website, and how the basic functionalities of Google Tag Manager work. If you have not yet created a Google Analytics 4 account, please do so first. In this guide we walk you through all of the steps to create a GA4 account. If you have already done so, please read on.
Note: In this guide we will use the terms 'Google Tag Manager' and 'GTM' as synonyms. In case we use 'GTM', you can read this as 'Google Tag Manager'. This also applies to 'Google Analytics 4' and 'GA4'.
Note: Google has a habit of regularly changing the interface of Google Analytics 4. This means that the GA4 interface in our images may look different compared to the GA4 interface in your browser. This usually results in minor aesthetic differences, but in some cases, Google has moved around entire features. If you can't find the specific feature we are highlighting, please consult Google to see where the particular feature has been moved to.
What is Google Tag Manager?
Let's begin by talking about what Google Tag Manager is and what it does. It is probably best to see Google Tag Manager as a tool which lets you send data from your website to other platforms, like Google Analytics 4, Google Ads and others. To use GA4, you will somehow need to send data from your website to your Google Analytics 4 account. Without this connection your GA4 account would be empty, as there is no data in it. To create this connection, you have to install a GA4 tracking code onto your website. This JavaScript computer code snippet will then collect data on your website visitors and send it to the Google Analytics servers, which will then become visible in your GA4 account. However, this GA4 tracking code is very limited and inflexible. For instance, every time you want to collect some additional data outside of the basics, you would have to alter the GA4 tracking code by adding those extra instructions. This is where Google Tag Manager comes in. Instead of having to alter the GA4 tracking code everytime you want to collect some additional data, you can install the GTM code onto your website once and manage the GA4 tracking code from within the GTM platform. GTM will take care of altering the GA4 tracking code for you.
To sum up, connecting your website to your GA4 account can be done in two ways:
• Google tag (gtag.js) - This is the GA4 tracking code, better known as the Google tag (formerly the Global Site tag). It's the most basic method of getting your website data into your GA4 account. If you are only interested in measuring the basics, like page views, clicks and purchases, then installing Google tag might be sufficient. However, in most cases we strongly recommend using GTM. Even if you are not sure whether or not you might need to use GTM in the future, we would still recommend using GTM over Google Tag. You will want to future-proof your GA4 setup. We would really only recommend using the Google tag if you have a specific reason not to use GTM. This could be due to technical limitations, but also, for example, a lack of time to learn how to use GTM.
• Google Tag Manager (GTM) - In most many cases, installing Google Tag Manager will be the best option. GTM will give you the flexibility in use and control over version management (with rollback options) which the Google Tag by itself lacks. In addition, you can also use GTM to manage and implement non-Google related tracking codes/pixels, such as those from Meta, LinkedIn, TikTok, etc.
In this guide we will focus on Google Tag Manager. Below, we will explain step-by-step how to create a Google Tag Manager account. In the second part of this guide, we will explain how to install Google Tag Manager onto your website.
Step 1. - Visit the Google Tag Manager (GTM) website
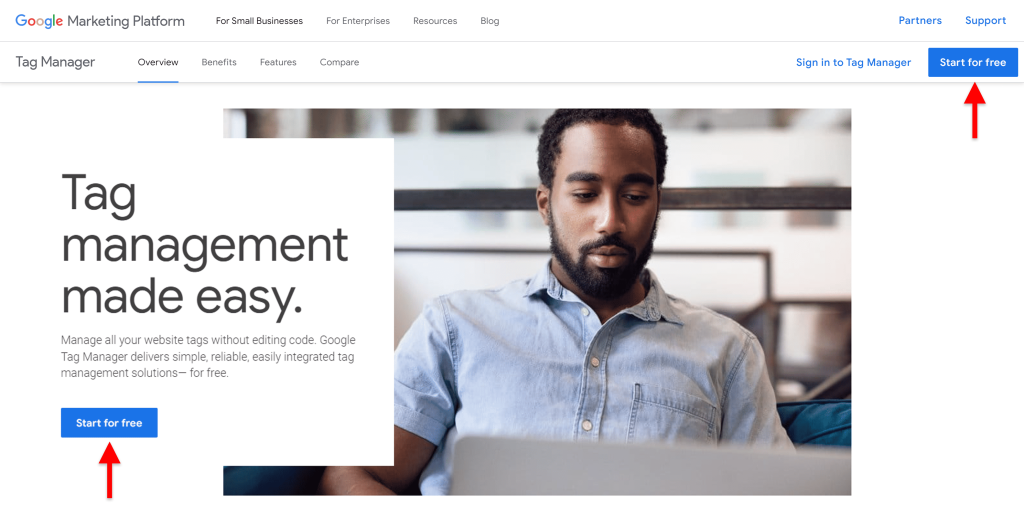
The very first step in creating a Google Tag Manager (GTM) account will be to visit the Google Tag Manager website. Click one of the two 'start for free' buttons at the bottom left or top right of the GTM website. After this, you will have to log in to your Google account. If you don't have a Google account yet, please follow our guide to creating a Google Analytics 4 (GA4) account first, and continue this guide afterwards.
Before we start going the steps of creating a GTM account, let's briefly talk about how your GTM account relates to your Google account.

1. Within the Google Tag Manager hierarchy, your Google account is the highest level. Through this account you get access to all Google services, such as Gmail, Google Analytics 4, Google Tag Manager, Adwords, Google Sheets, etc.
2. Your Google Tag Manager account is one step below your Google account within this hierarchy. You can have multiple GTM accounts within your Google account.
3. Every Google Tag Manager account can have one or more containers. These containers contains tags, triggers, and variables. (We will explain this to you in another part.) In many cases you will have one container per website/app.
Step 2. Create a Google Tag Manager (GTM) account
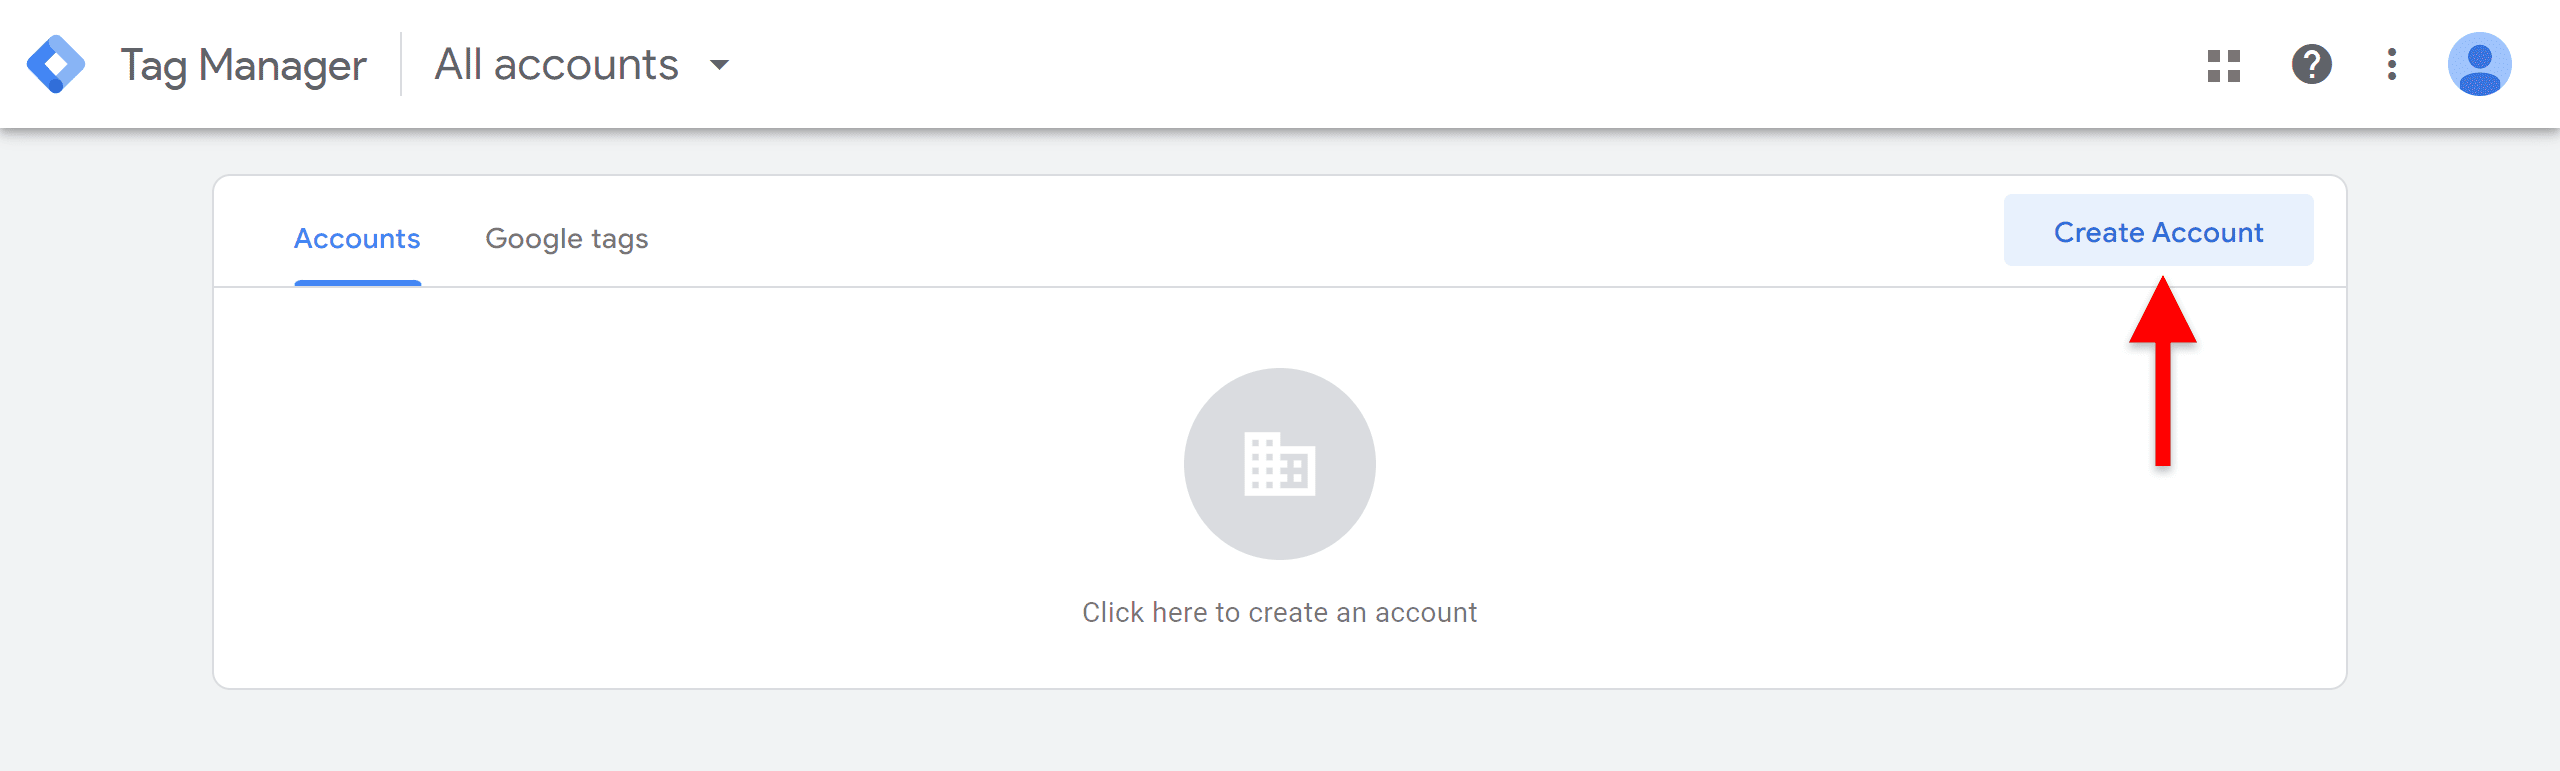
After having logged in, you will greeted by the page above. Click the 'create account' in the top right corner.
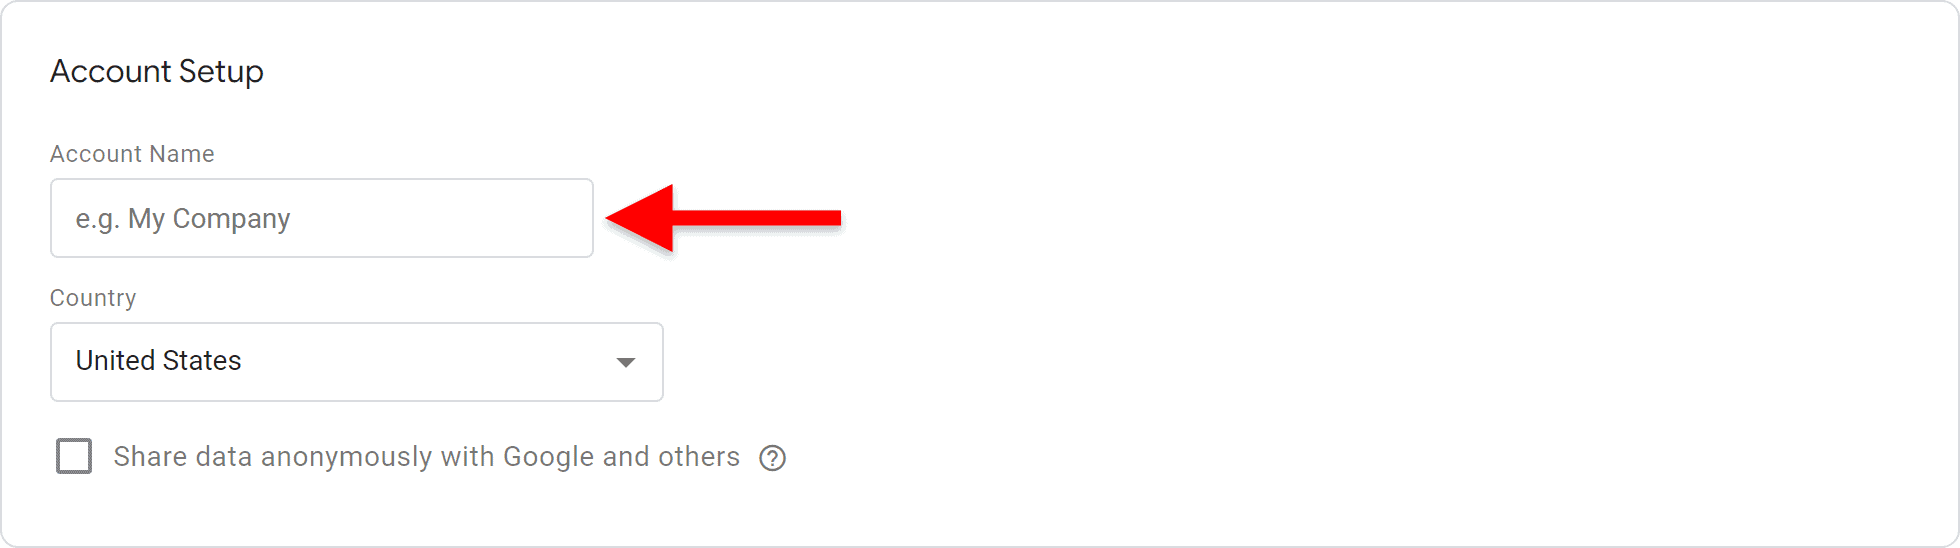
Here you need to come up with an account name. It is recommended to enter a suitable account name, for example, your company name. It is not possible to change your account name later on.
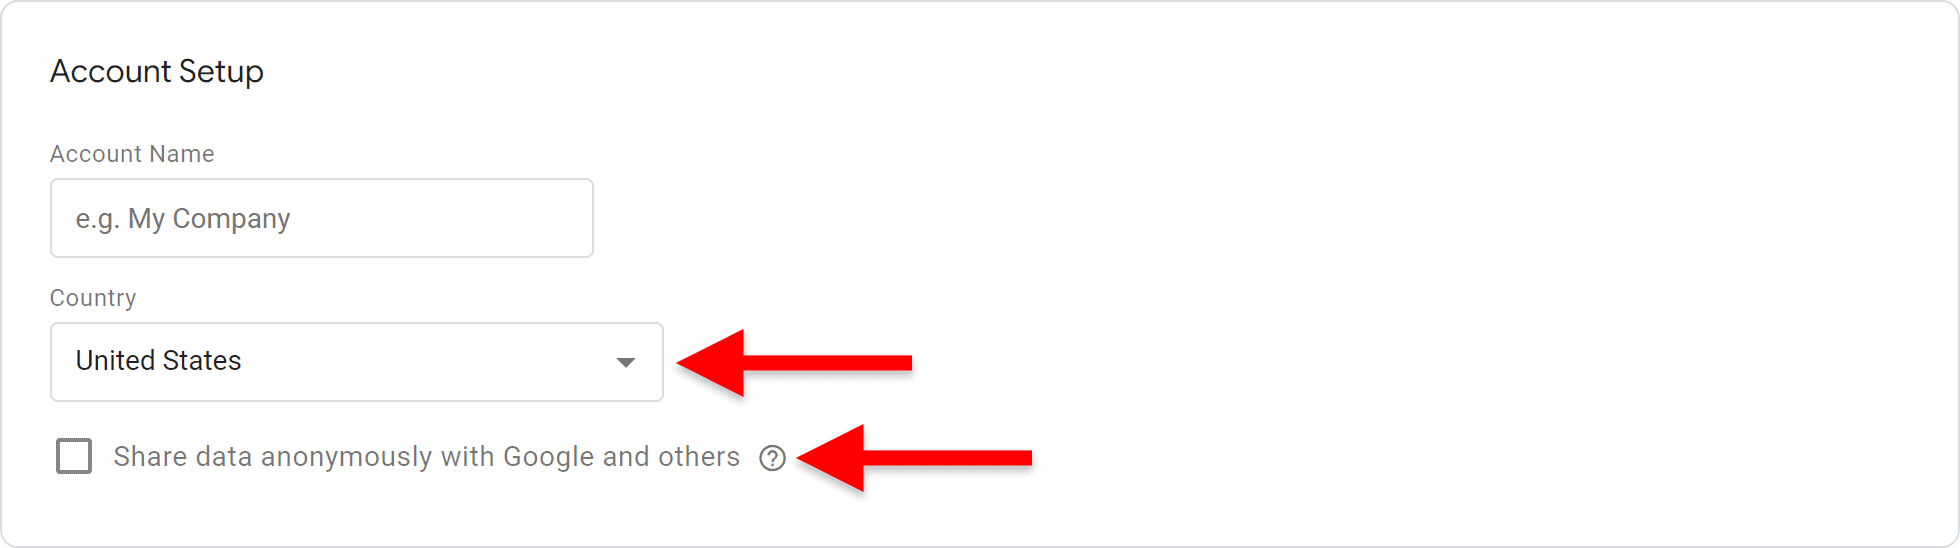
Below it, you will need to choose a country. If your company is located in the United States, in most situations it is advisable to choose 'United States' here, as the default time zone in your GTM account will be based on it.
You are free to choose whether or not you want to share your data anonymously with Google and others by checking the box in front of it.
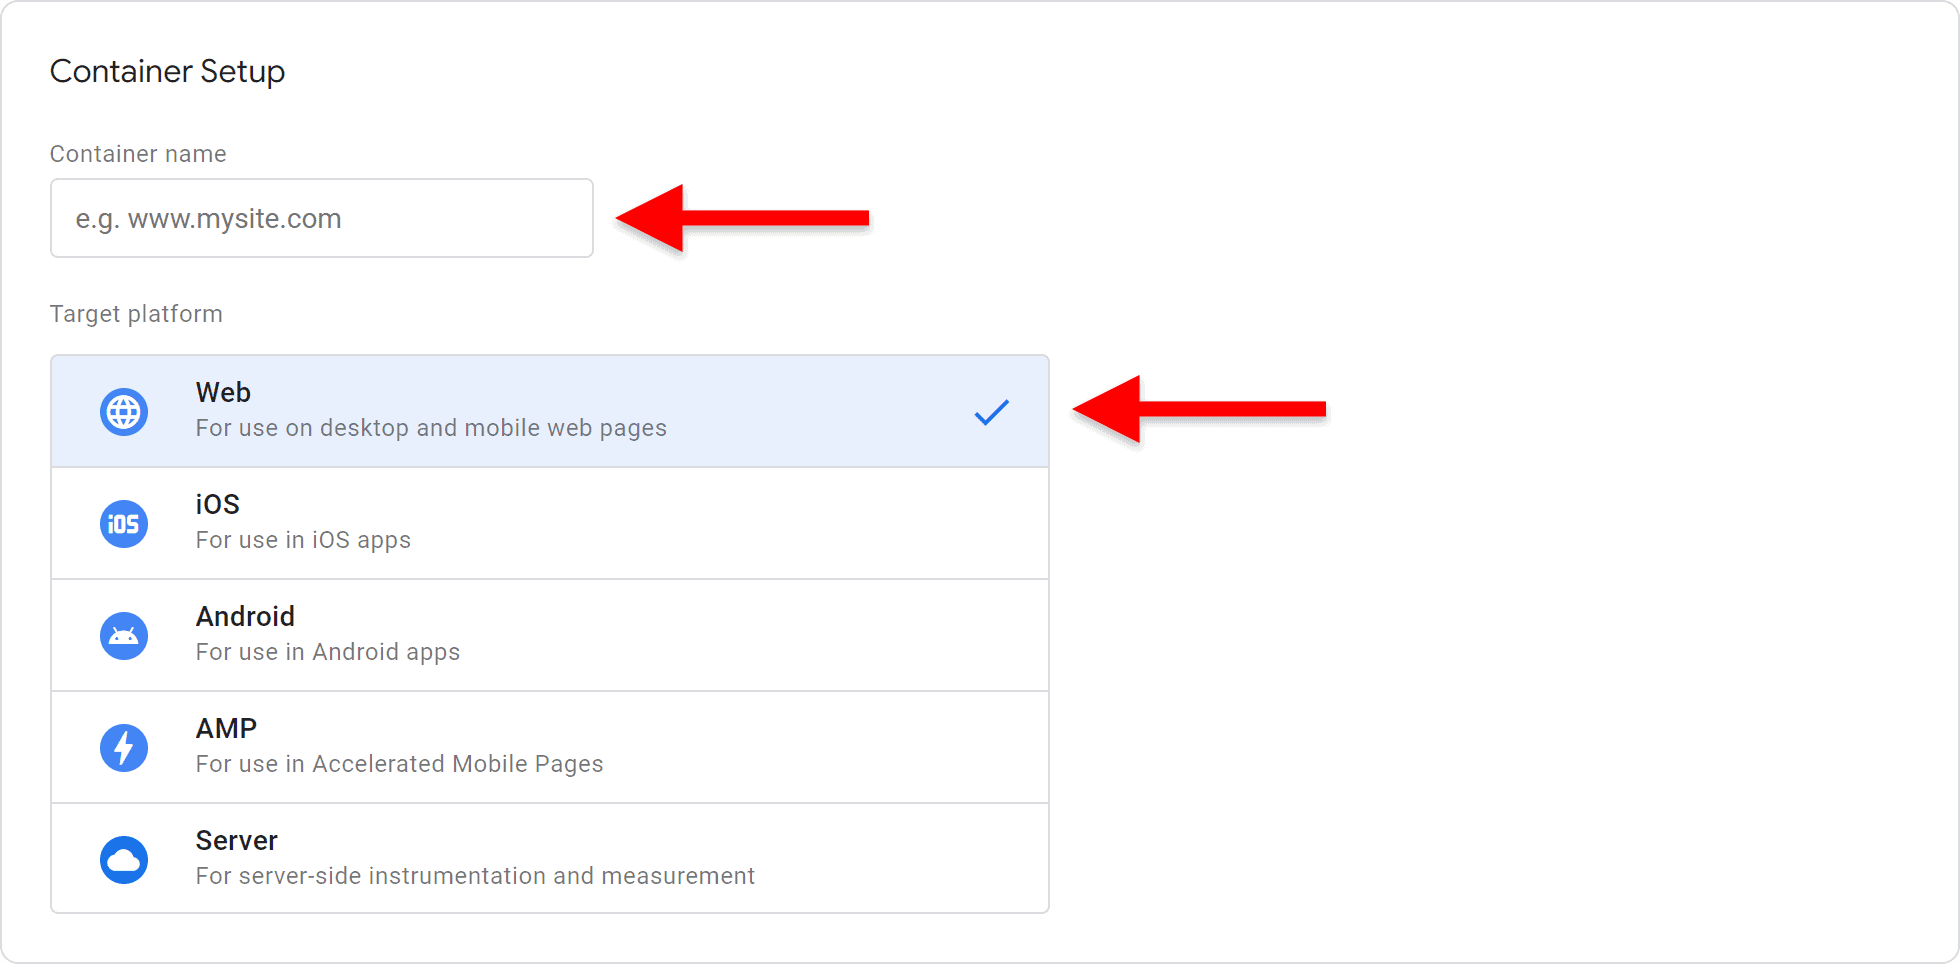
You will also need to come up with a with a container name. Generally, you will create one container per website, so you could, for example, enter your domain name as your container name. It is also possible to enter one or more descriptive words instead.
Choosing a target platform is rather self-explanatory. If you want Google Tag Manager to connect to your website, choose 'web'. If you want to GTM to connect to your mobile app, use the 'iOS' or 'Android', depending on the platform. If you have an AMP website (Accelerated Mobile Pages), you will of course choose the 'AMP' option. These are websites which are optimized to improve site performance and loading speed. If you're not sure if your website is an AMP website, check with the developer who has created your website. If you are using GTM for server-side tagging, choose the 'server' option. This involves managing and deploying tags on the server side of a website, rather than the client side (browser).
Seeing as we are going to use GTM to track our website, we will choose 'web'. When you are finished, click the blue 'create' button.
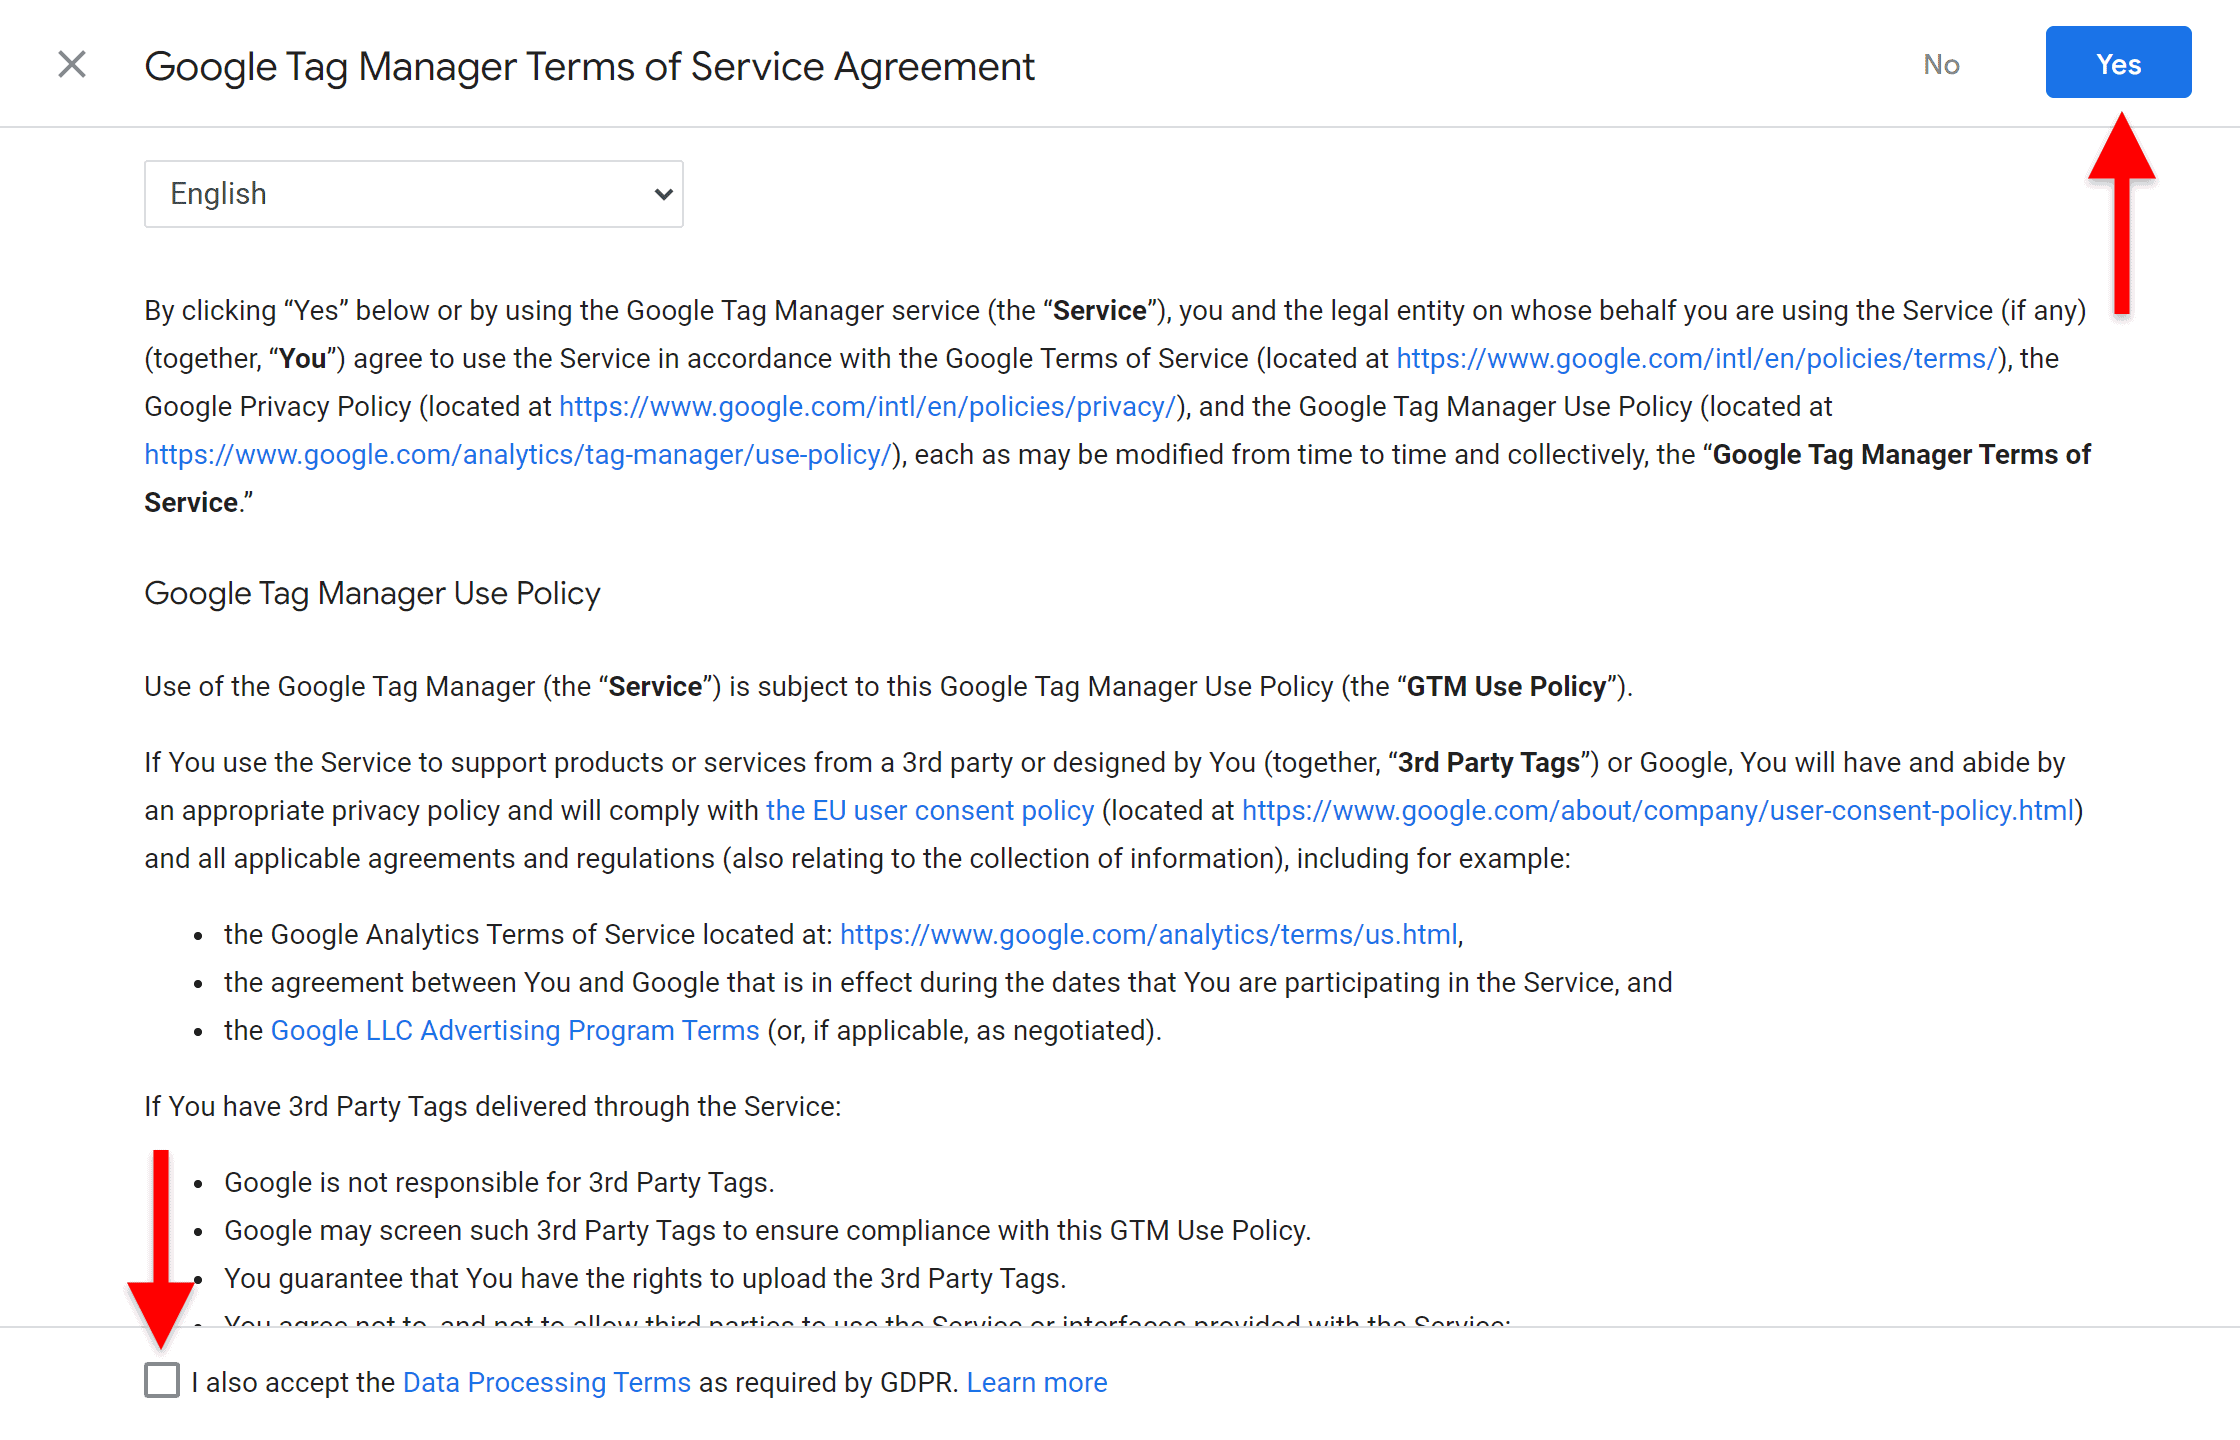
Finally, you will need to agree to the Google Tag Manager Terms of Servcie Agreement. You should, of course, read it carefully before agreeing with it. You might also have to agree to the Data Processing Terms as required by GDPR.
Afterwards, you will be taken to your brand new Google Tag Manager account. You might also see a pop-up with snippets of computer code. You may close that pop-up for now. In part 2 of our Google Tag Manager for beginners guide, we will discuss how to best place this Google Tag Manager code on your website.